Pages

Monday, April 23, 2018

Screencasting Savvy

If you have been watching our Tech-A-Minute mini-series, you know that we have been exploring different options for student video creation. In our latest episode, we discussed screencasting.


A screencast is essentially a recording of your computer screen that allows you to capture the action on your screen while you narrate. Most screencasting tools also allow you to create a webcam recording from your device’s camera. You may have seen a screencast in an instructional video or as a presentation with a voiceover. While this can be a very powerful tool for teachers to deliver course content, create remedial content, differentiate for a student, or communicate with parents, it can be especially powerful when put in the hands of students.

As explained in this article, screencasts can turn students into digital teachers. They can present a project, answer an assessment question, and make other informal videos within just minutes. Some tools allow students to create more polished, edited videos, while others give students a platform to quickly express their ideas and show their understanding. Check out some of the examples of student-created screencasts below:

Examples from Mark Haxton at Aspen Creek K-8
Math Problem Solving example
Circle Hockey Presentation example
Close Reading example

Now that you know why you might want to have your students create a screencast, we can explore the how. Below are a few tools that your students can use across many devices, including Chromebooks. Check each one out to find a tool that will best meet your students’ needs.


Tool
Description
Sharing
Helpful Resources
A web-based tool that allows users to instantly capture their screen with audio commentary. There is both a free and paid version available.
Users can choose to save their video file on their device, upload to the Screencast-o-matic cloud, or to a YouTube channel.
A Chrome extension that allows recording from a tab, desktop, or webcam. The free version of this tool allows students to create videos up to 10 minutes long.
Screencasts save directly to their Google Drive for easy sharing.
A “record” option in a video edit that gives the option to record your screen or webcam. This option allows for editing and does not have a time limit.
WeVideo automatically saves finished videos to your WeVideo account, but can also save to Google Drive or a YouTube channel.
A Chrome extension that allows you to capture your screen or record a video and add in your own annotations.
Users can choose to upload to Google Drive, copy it to the clipboard, or share using a direct link.

As you get started with screencasting with your students, there are many resources to support you. Check out Kathy Schrock’s Guide to Screencasting in the Classroom or the Ultimate Screencasting Guide for Teachers and Students. And don’t forget that we’d love to see your BVSD examples of student screencasts. Tweet us @BVSDEdTech or leave your comments and questions below.

Monday, April 16, 2018

Guest Blogger - Erin Mayer | The Road Less Traveled - Going Gradeless


Erin Mayer, Science Teacher | Casey MS
21st Century Cohort 4.0
@Erinsmayer | www.reinventingclass.com


The Road Less Traveled - Going Gradeless

After a successful trial run last spring eliminating grades in lieu of feedback and reflection with my eighth grade science students (The Road to Gradeless), I decided to completely eliminate grades for all 155 of my sixth and seventh grade students this year. In September, after I felt that my students and I had begun to create and develop a collaborative, safe, learning community, I explained to my students that because our primary focus throughout the year would be learning and understanding, they would receive learning feedback from me, not grades. With the full support of my administrators, I also shared my vision with my student’s families (Learning and Grades Parent Letter).

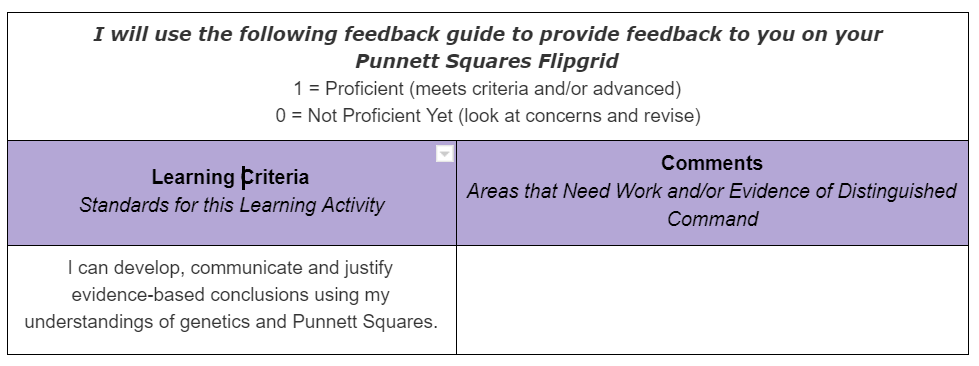
To provide and document feedback on student learning and understandings, I use Schoology in conjunction with single point rubrics focused on our learning criteria.
If a student learner has met the learning criteria, they receive a “Proficient”. If they have not met the criteria, they receive a “Not Proficient Yet”. I include concerns, questions and evidence of advanced understandings in the comment column of the Schoology “gradebook”. I emphasize the “yet” in not proficient yet, consistently acknowledging and reminding my student learners that the learning process is messy and that it is often necessary to traverse multiple learning paths and revision processes to develop, refine and communicate understandings and ideas.

Our school is on a quarter system and I still need to submit traditional letter grades each quarter. At the conclusion of each quarter, my seventh graders reflect on and evaluate their learning using a Personal Learning Reflection and Evaluation template that I share with them. At the conclusion of this document, each student determines what their quarter grade will be. Students mini-conference with me after completing their reflection. These conferences are critical and allow my students and I to dig deeper into their personal reflection and evaluation of their learning. Our class is self-paced which allows us to mini-conference during class time because all students reach the unit evaluation and reflection phase at different points.

I discovered that my sixth grade students need more scaffolding to reflect and evaluate on their learning. Their most recent reflection, after a quarter-long problem based unit focused on bioplastics, provided this additional structure and focus: Polymers for the Planet Individual Learning Reflection.

Overall, the feedback I have received about our gradeless learning environment has been positive. Parents and family members appreciate our emphasis on learning and communicating understandings. At this point in our journey, most of my students have developed a deeper understanding of what gradeless means. This has been a transition for many students, particularly my seventh graders. An emphasis on learning and understanding over grades requires students to own their learning. Their experiences in our science classroom are helping them understand that learning is messy. They are realizing that it is okay, and often beneficial, to slow down and focus more deeply. They are more aware that the ability to communicate their understandings, in ways that work best for them, is critical and can be very rewarding. As my students’ learning facilitator, our experience has convinced me that a gradeless environment is best for kids. It provides the opportunity for all of my students, many who are often labeled as “underperforming”, to find learning success in our science classroom and ultimately allow to develop their capacities as thinkers, learners and doers.


Monday, April 9, 2018

Getting Started With a Student Video Project

BVSD Ed Tech’s YouTube show for teachers, Tech-A-Minute, is back with a series focusing on student video creation! If you missed the first episode, be sure to start there for an introduction to using video in the classroom. To complement the release of the second episode, we’re highlighting a few great resources to help you get started!


A successful student video project requires a balance of structure and creative freedom. Thoughtful planning by both the teacher and the student ultimately makes the video creation process more efficient and the finished product better. You may want to consider the integration of the following components:

Scriptwriting
Whether the plan is to record a voiceover or present a live broadcast on-camera, knowing what you are going to say will promote efficient recording and a coherent message. The scriptwriting process is a great way to encourage collaboration between students, allow for multiple revisions, and give the opportunity for teacher feedback. Video creation can be a powerful iterative writing exercise! For links to some great writing tools be sure to visit the Scriptwriting page on our Digital Storytelling website.

Storyboarding
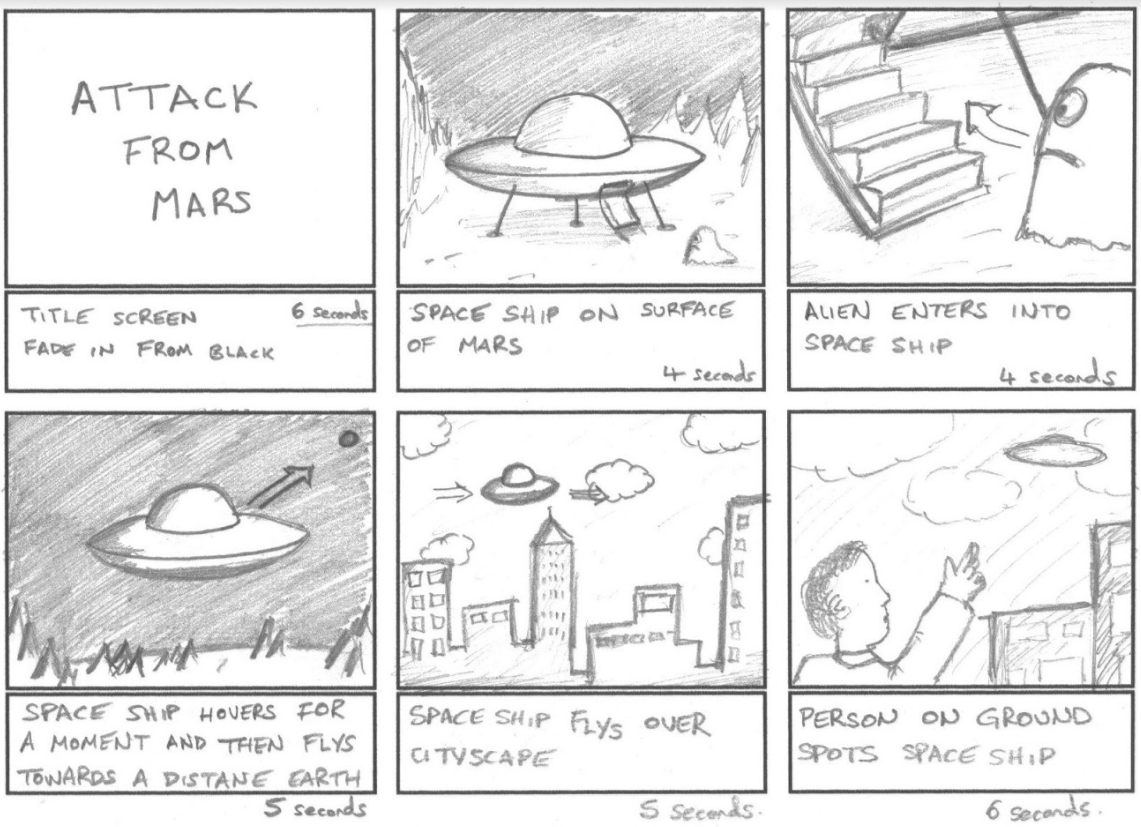
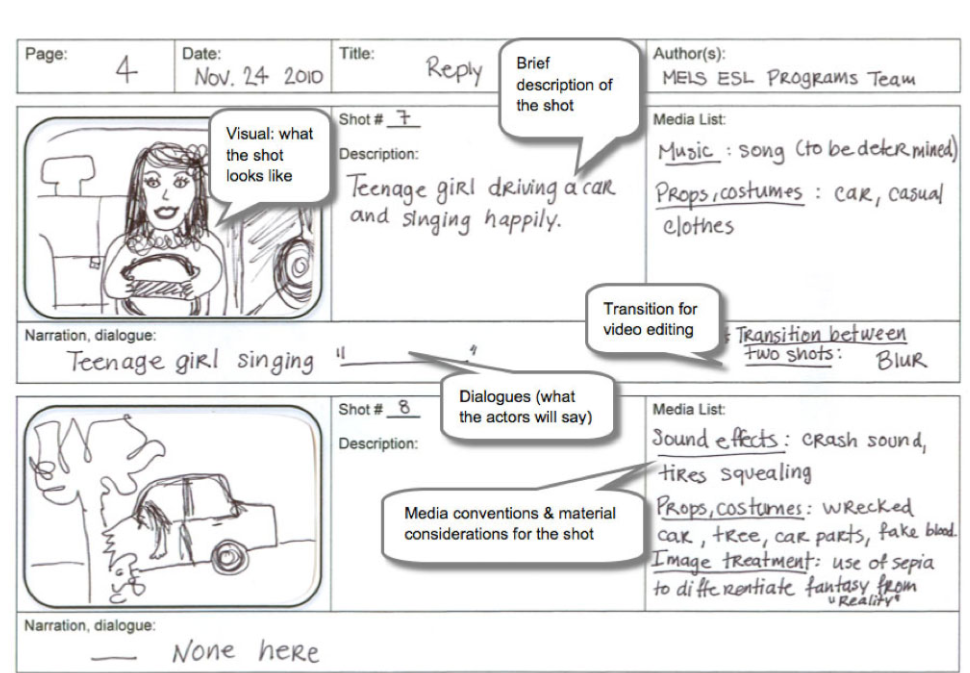
A storyboard is a visual tool that allows students to begin thinking about what images, audio, and effects will support their script in the final video. Storyboarding provides an opportunity to consider the audience, pace their video, and identify media that needs to be collected. While many powerful online storyboarding tools exist, it is also easy and effective to do it on paper. This printable template offers a simple way to map out a video project. Below are a couple of examples of student-created storyboards (click to enlarge):


Media Collection
One of the benefits of digital video creation is the ability to use a variety of multimedia content to support a vision. Students will love integrating their own photos and video clips into their projects! However, there are also times when using existing images, videos, and audio is useful. It is important to teach students how to seek out legal, free-to-use (such as Creative Commons licensed) media for their projects. Not all online content is created equal! For a list of fantastic media sources, be sure to visit our Media Resources website.

If you haven’t already done so, please subscribe to BVSD Ed Tech on YouTube so you don’t miss the rest of our series on student video creation! If you’ve already done video projects with your students or have other resources to share, be sure to comment below.


Tuesday, March 27, 2018

IT Welcomes BVSD Staff at Open House


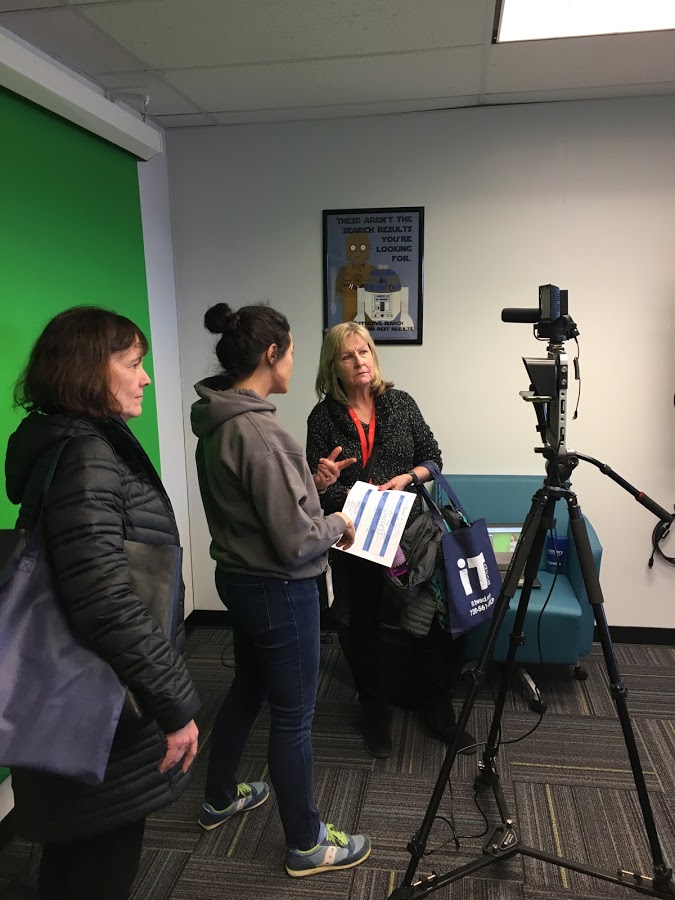
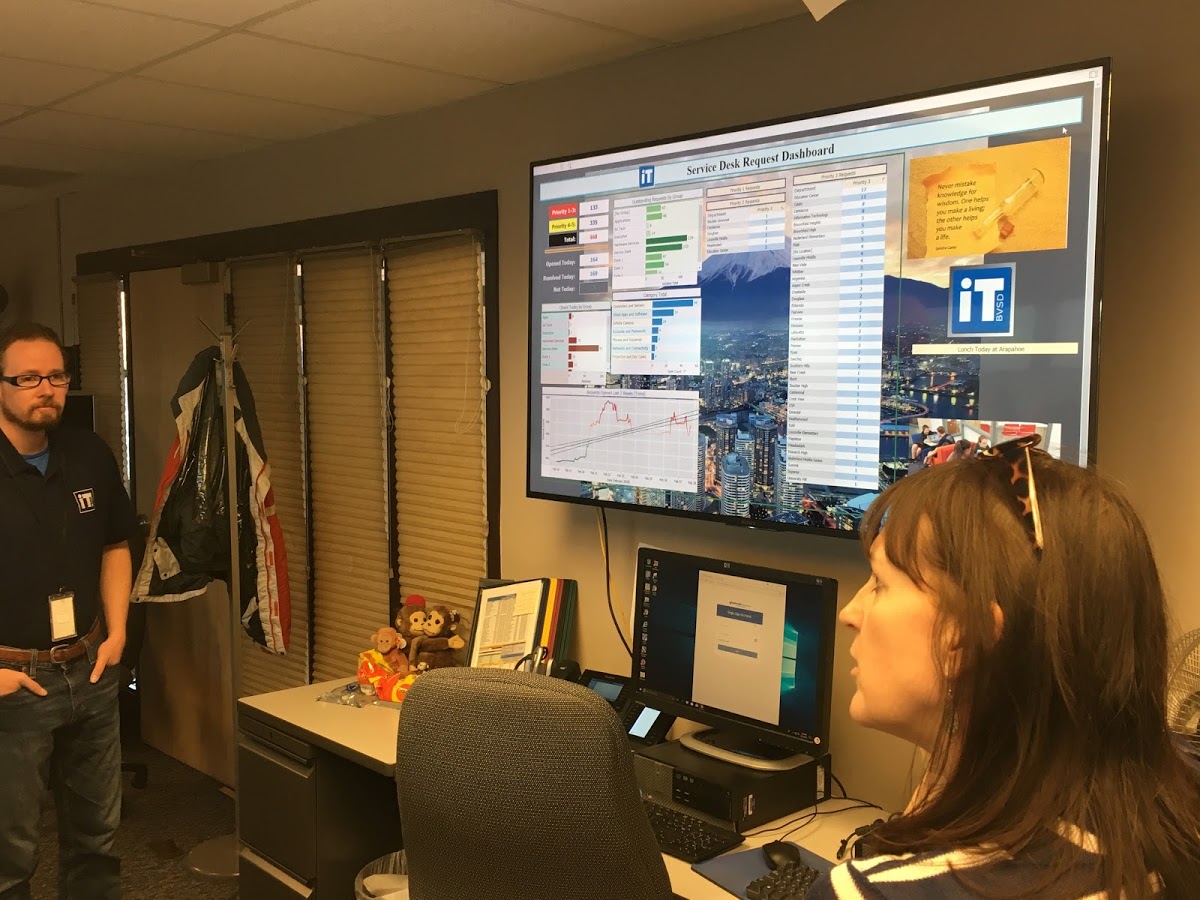
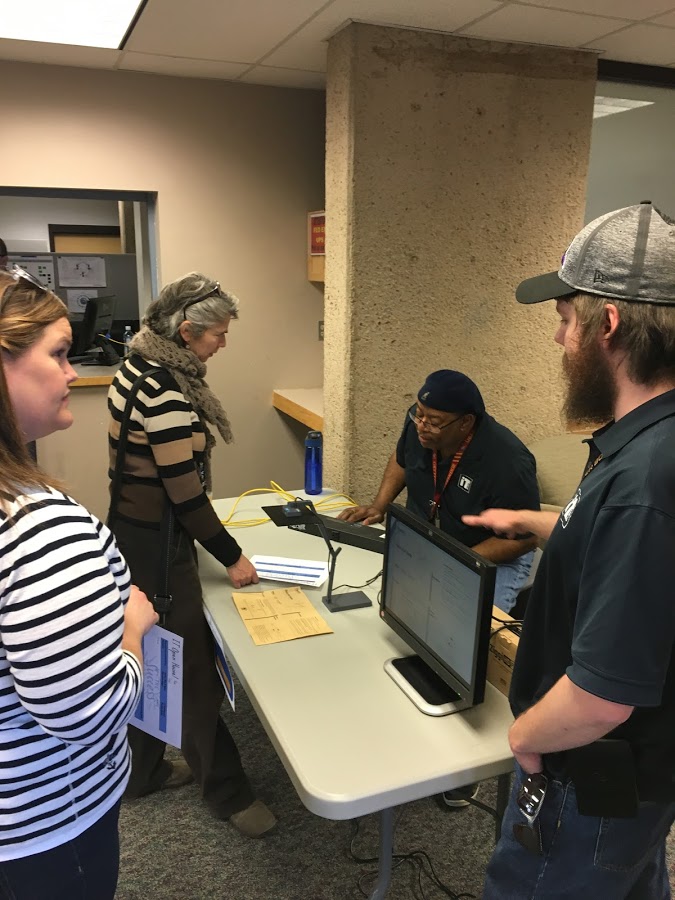
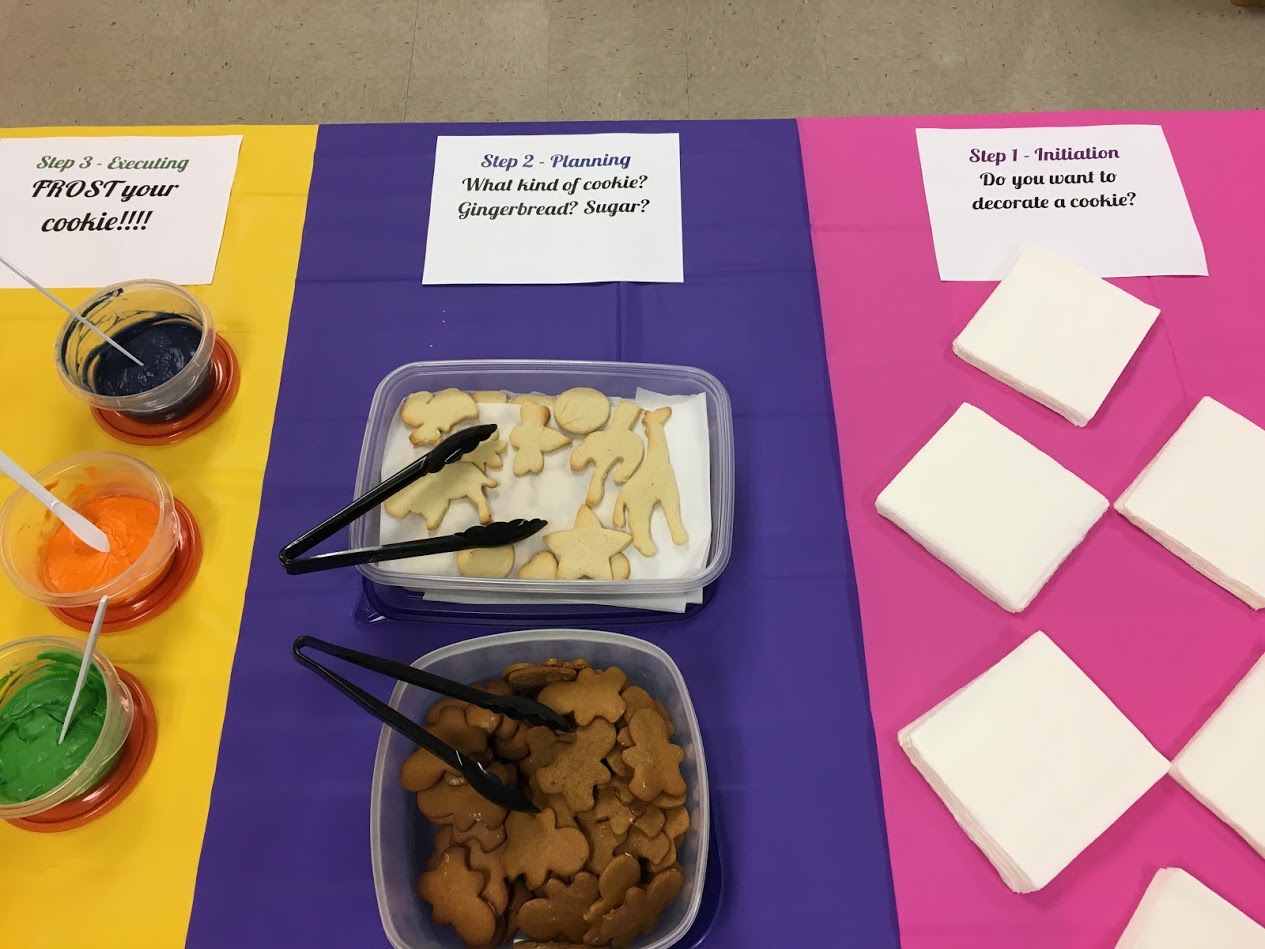
On February 27th, 2018 the BVSD IT department welcomed staff members from throughout the district for its second annual IT Open House. Over 50 employees from 33 different schools and departments attended! Attendees had the opportunity to chat with the people “behind the scenes and screens”, with nine IT departments each hosting their own station. From the Project Management team demonstrating the PM process through cookie decoration, to Ed Tech’s hands-on demos of maker kit tools, participants had a wide variety of options to explore. In exchange for sharing their reflections at each station, attendees were entered to win one of over 20 raffle prizes including a trip to this year’s InnEdCO conference!

Did you attend this year’s IT Open House? What was your favorite part of the experience? We’d love for you to share your thoughts in the comments below. If you couldn’t make it this year, we look forward to seeing you at the 2019 event!


Monday, March 19, 2018

BVSD Ed Tech on Social Media


The use of social media is pervasive in our world today. With the many services available, there’s no shortage of ways to connect with friends, family, and colleagues. But are you maximizing the potential of these tools as a way to grow professionally? The BVSD Ed Tech Team is committed to providing you with resources, ideas, opportunities, and food for thought through our social media channels. This blog is one of the many ways we connect with our professional community.

For more timely updates, visiting and/or subscribing to our Twitter feed is a great option. You can count on us to provide teacher and student highlights, updates on exciting events, links to intriguing articles, and more. Twitter is a terrific platform for educators to share ideas and connect with each other. Find a leader on this list and connect.

If you’re looking for a collection of resources organized by topic, please check out our Pinterest page! From articles on digital citizenship to the use of gSuite for Education, you’re sure to find something relevant and interesting. In fact, we even have a Pinterest board dedicated to the use of social media!

We’ve recently begun giving our YouTube channel some extra attention, so if you haven’t visited it in a while we strongly encourage you to do so. Subscribing to our channel will ensure you don’t miss an episode of our new web series Tech-A-Minute, and will give you easy access to other useful curated content.

We would love to connect with you on these platforms! What would you like to see from BVSD Ed Tech’s social media? Feel free to comment on this blog post (or even better, send us a tweet!) with your thoughts.


Tuesday, February 27, 2018

Digital Portfolios: Sharing, Assessing, & Reflecting on Learning


Thank you for watching the BVSD Ed Tech Team’s first miniseries, Tech-A-Minute, where we break down hot ed tech topics into easy to implement steps. To see each episode about digital portfolios, check out the video above.

Let’s set the scene...it’s the final semester of school or the last few weeks before the end of the school year...we’ve all been there. You’re frantically scrambling to assemble many different papers into plastic page protectors or reprint things when you notice a typo, and you are wondering if the 3” inch binder is going to be large enough for all of your portfolio elements. You’ll be hard-pressed to find someone who doesn’t see the benefits of using a portfolio in the classroom, and more and more, teachers are moving to a digital format for these projects.

A digital portfolio is a curated collection of work and other artifacts in a digital format. As opposed to a traditional portfolio, students can add in numerous media types like presentations, reports, essays, videos, goals, and products from web tools like ThingLink, Padlet, and Piktochart. A digital portfolio allows students to share what they have learned over time and reflect on their growth as a learner. Additionally, teachers are able to assess student proficiency and growth throughout the school year.

An important thing to remember about digital portfolios is that they aren’t just a more visually appealing way to showcase student work. By having students work on these portfolios throughout the year, they are using digital skills like uploading and importing files, authentically practicing keyboarding skills, and mastering a variety of web tools. They’re also experimenting with web design, graphic design, and video creation with their audience and purpose in mind which empowers themselves as learners to choose the tools, platforms, and formats to best showcase their learning. And most importantly, they are developing a positive digital footprint for the years to come.

For many teachers, the move from a traditional paper portfolio, like a cum file or record, to a digital version can seem overwhelming. But the great news is that there are several resources that can support you as you begin. If you are a teacher, click here for a hyperdoc that can be used for professional development about using digital portfolios. In addition, here are some resources about digital portfolio platforms that can help you choose which tool you want your students to use:

Schoology portfolios

Seesaw

Google Sites

Google Slides

Still not convinced? Read these 10 Reasons Why You Should Implement Digital Student Portfolios or check out how BVSD teachers Lisa Cooper and Kristen Donley are using them in their classrooms. As always, if you have questions you can leave them below or tweet us @BVSDEdTech. Make sure to subscribe to our YouTube channel so you won’t miss our next episode of Tech-A-Minute!

Friday, February 23, 2018

Guest Blogger - Kristin Donley | Monarch HS


Connecting with Content at A Higher Level 

Kristin Donley, Science Teacher | Monarch HS


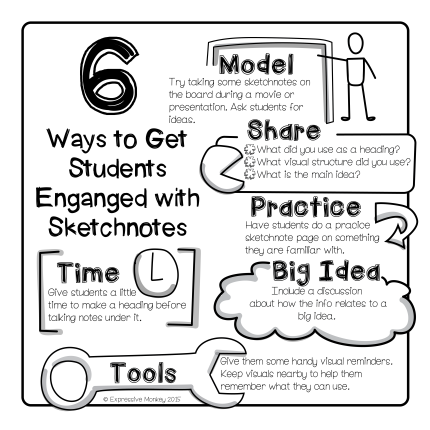
In November 2017, I attended the Google for Education Summit in Louisville, Colorado. At the Summit, I was inspired by Sylvia Duckworth and her sessions on Sketchnoting. I was excited by the idea because it employs the use of simple sketches in addition to words in note-taking. Research shows when students use pictures to represent ideas, they are connecting with the content at a higher level and are more actively engaged. 

“...sketchnoting helps me use both sides of my brain…”


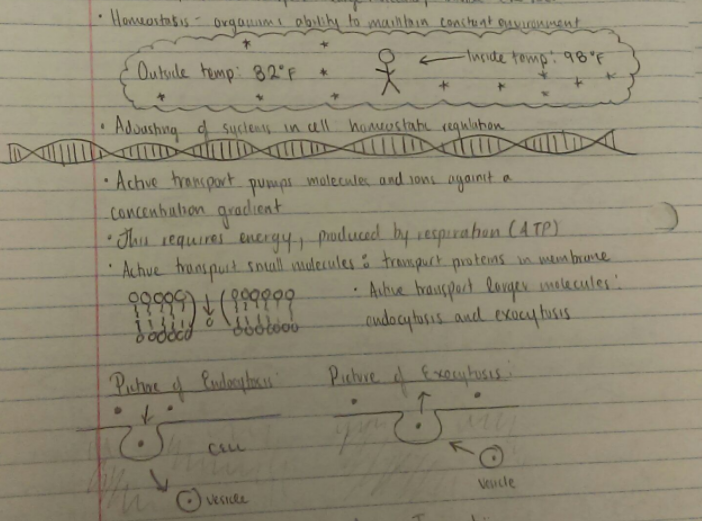
To kickoff my student’s sketchnoting journey, I showed them a simple video on how to use sketchnoting and then I asked them to read text from a site called Actively Learn. I asked them to create Sketchnotes on the assigned topic: osmosis and factors that affect it. After the assignment, I asked students if this way of taking notes helped them understand the topic better than the strategies they were employing previously, and I was encouraged to hear, “I am artistic and I like science, sketchnoting helps me use both sides of my brain and it is a great visual way to help me memorize information.” Another student said, “I love drawing and colors, this method engages me more as I am a visual learner; the pictures with the words helps me understand what I am learning better.”  

“I am seeing more engagement and better writing…”


I have noticed students are taking more notes, and the notes are not just copied paragraphs from the text. Rather, they are creating concept maps with words and pictures that are helping them comprehend, synthesize and analyze information to a greater extent. They are employing Bloom’s taxonomy from remembering to understanding to analyzing, evaluating and creating. It is early in my journey of using sketchnoting in the classroom, but I am seeing more engagement and better writing in their formative assessments. The best outcome so far is that I have noticed several students using sketchnoting in their other classes! I am excited to see how our journey in sketchnoting evolves over the rest of the year!  


Resources from Kristin’s Class


Here is the sample lesson I gave in Schoology:
“Click on the links, read the articles and watch the videos. In class I will teach you how to do sketchnoting which will help you increase your memory and engagement with the content you are learning. This information will help you be successful on the osmosis inquiry. While watching the videos and reading the articles, take some sketchnotes as well as answer the questions in the black boxes in Actively Learn. Upload your sketchnotes to this assignment...can take a picture or scan in.”
Videos to help you understand the content: